Ensuring that power supplies in vintage hardware are reliable and safe is extremely important. If voltage regulation in the supply were to suddenly fail, or even slowly fail over time, this can cause damage to downstream components that may be much harder to replace than the power supply itself.
To that end, we’ve been working on restoring the power supply in our Dell Dimension XPS Pro200n. The power supply was in working order when the system was originally revived, but there were several issues present that we wanted to correct.
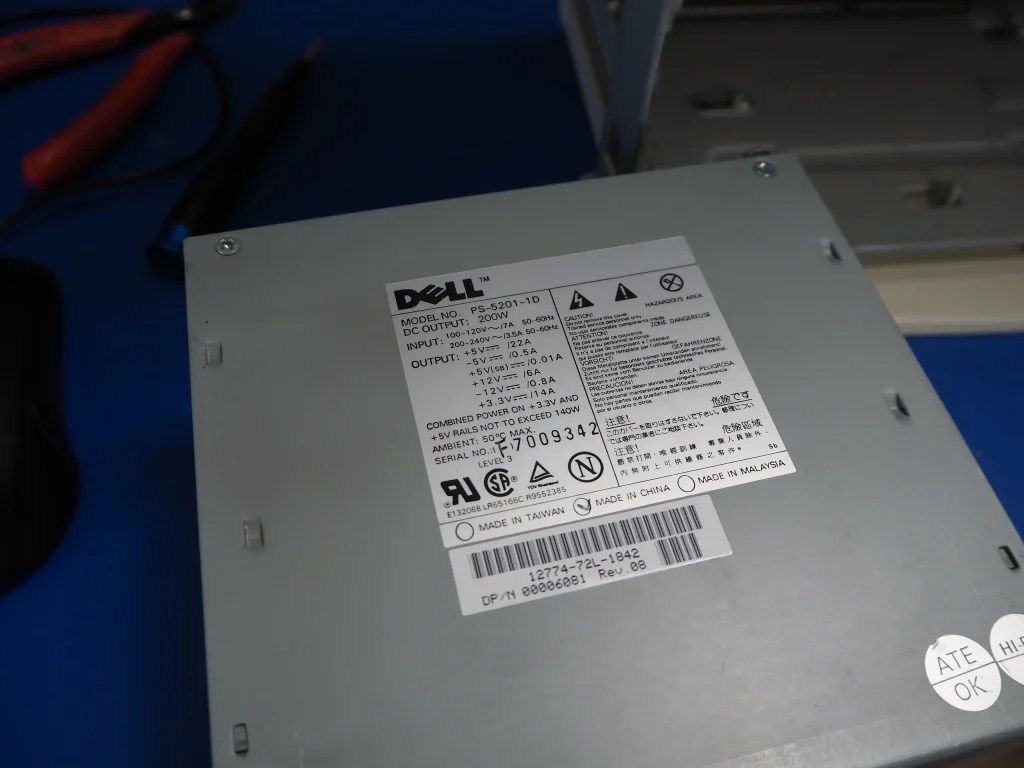
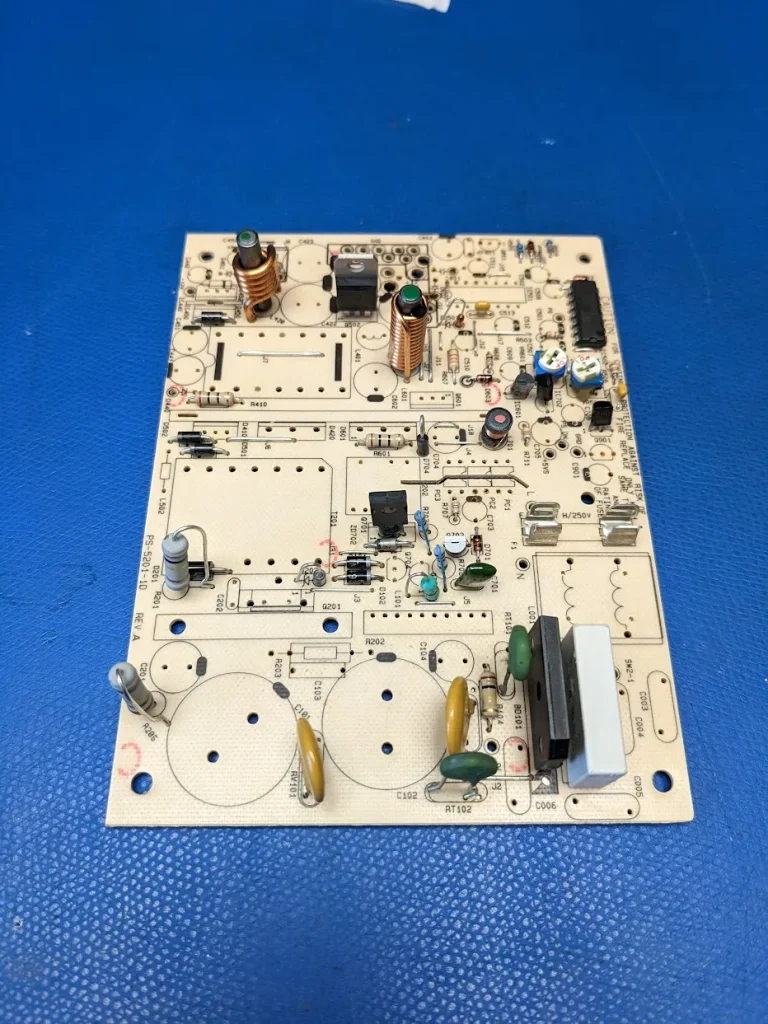
The PS-5201-1D power supply was originally manufactured by Lite-On. It produces a maximum output of 200W, and utilizes an AT-style motherboard connector for the 3.3V output that is specific to Dell models of this vintage. Lite-On produced power supplies for a number of PC manufacturers, and would tweak their designs based on the requirements. Interestingly, the 3.3V output of this version has a maximum output of 14 amps, which is higher than other PS-5201 variants.
Electrolytic capacitors
It is only a matter of time before anyone involved in vintage hardware comes across a capacitor failure. Electrolytic capacitors have finite lives, and this is compounded by a glut of low-quality capacitors that have been installed in hardware for decades. Luckily, the power supply in the Pro200n did not suffer this fate, and we were pleased to see high quality Rubycon and United Chemi-Con capacitors throughout.
This system is nearly three decades old, and while the capacitors would likely function normally for the foreseeable future, it is sometimes a good idea to go ahead and replace them if the opportunity presents itself. Since we’re focused on preservation and longevity of our systems, it made sense to us in this case to push forward with a capacitor replacement.
Glue and more glue
An unfortunate trend in mass manufacturing of electronics during the 90s (and later) was the use of a staking compound meant to prevent vibrations and damage when units were shipped to all corners of the world. This was often in the form of a yellow glue. It performed its job without issue for years, but it is unfortunately hygroscopic. As it absorbs water, it discolors and can cause corrosion and even become conductive over time.
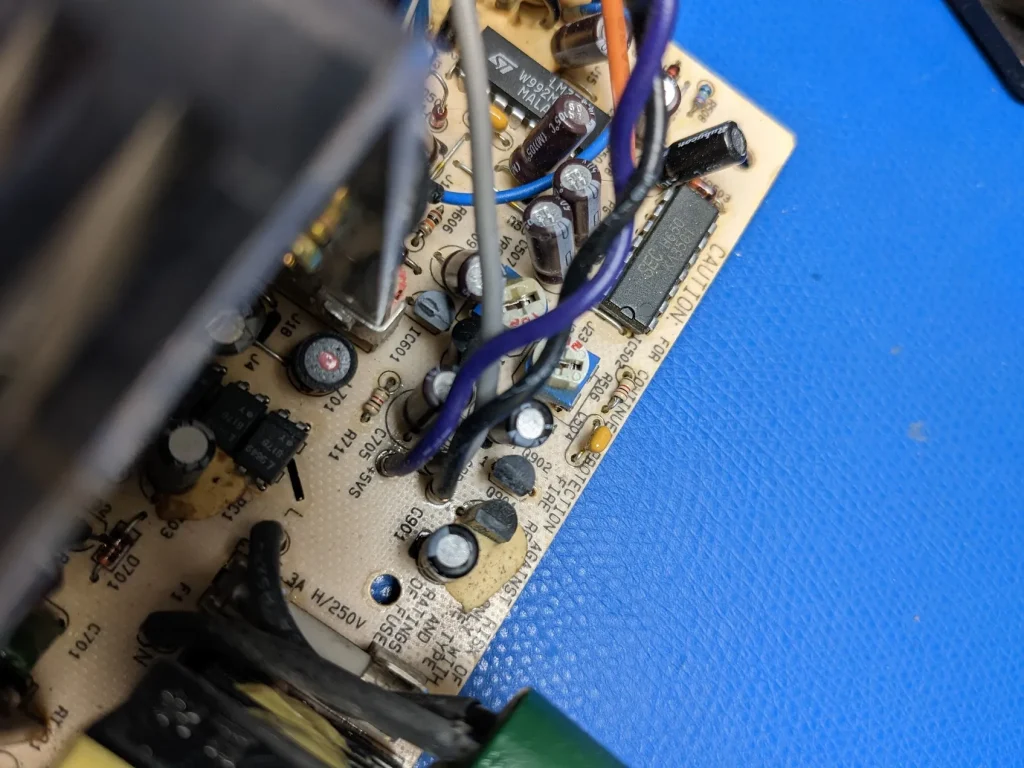
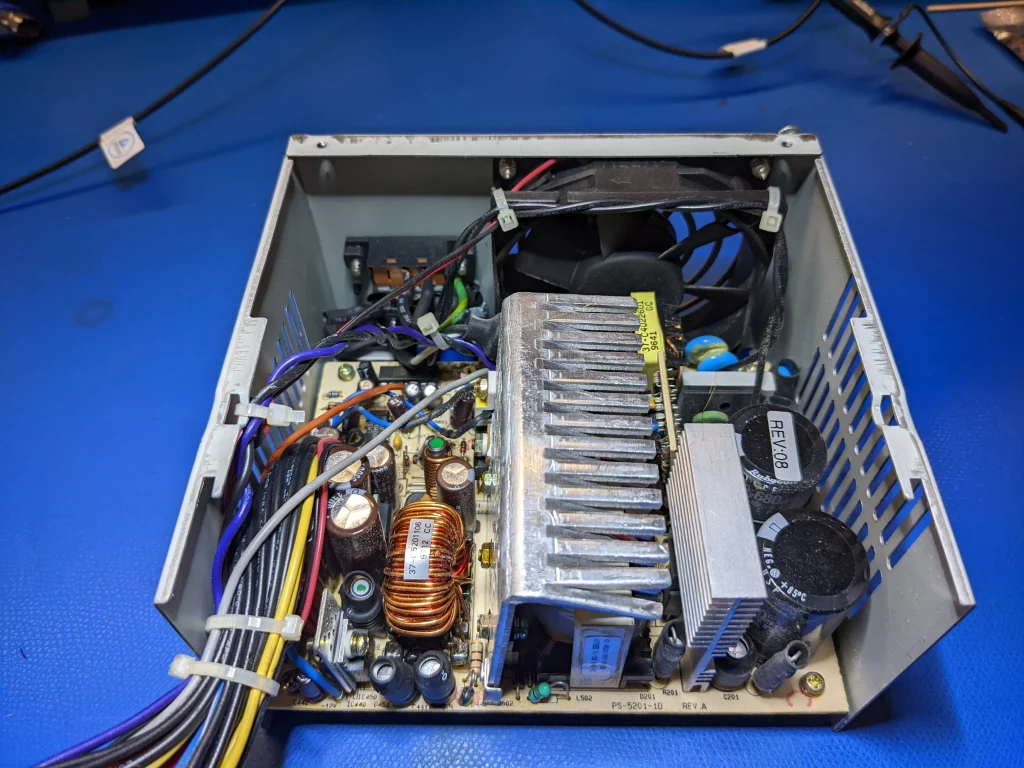
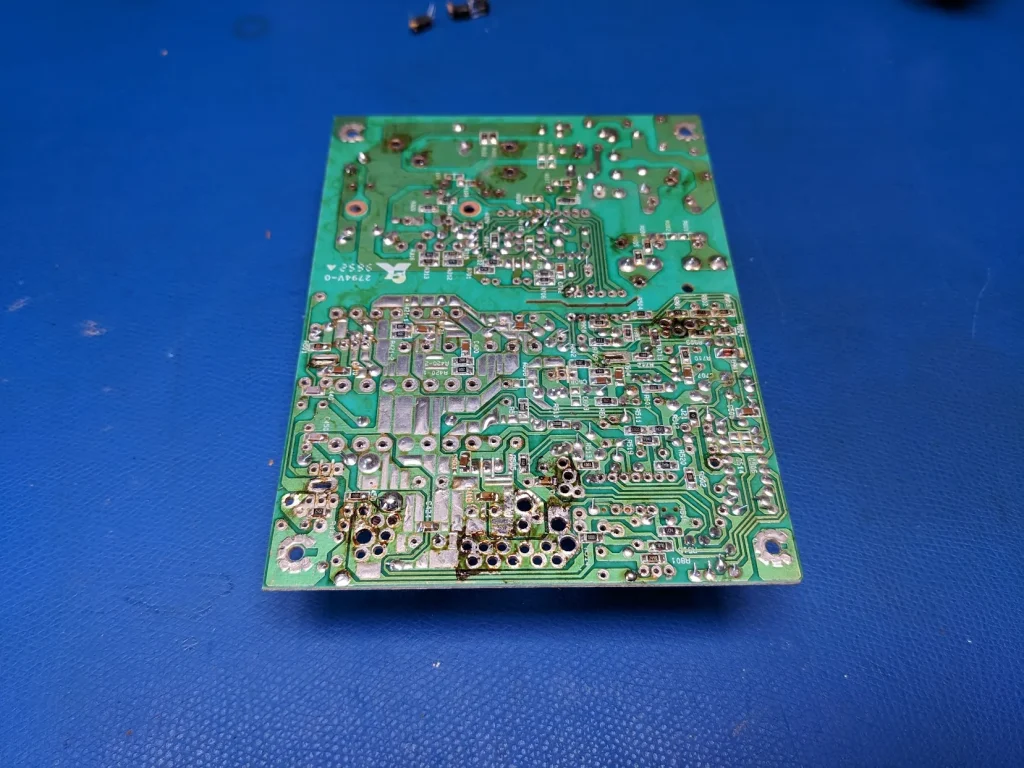
The PS-5201-1D had glue sprayed all over and seemingly in random spots. It was especially heavy at the board/wire outputs. This needed to go, and we stripped the board of almost all components to help clear out all the gunk. We used a combination of isopropyl alcohol (which only slightly softens it) combined with a generous amount of elbow grease to get it as clean as possible.
Ultrasonic cleaning
Before installing new components, we wanted to make sure the board went through our ultrasonic cleaning process to remove the years of dust and grime that had accumulated as well as remove the remnants of the glue.
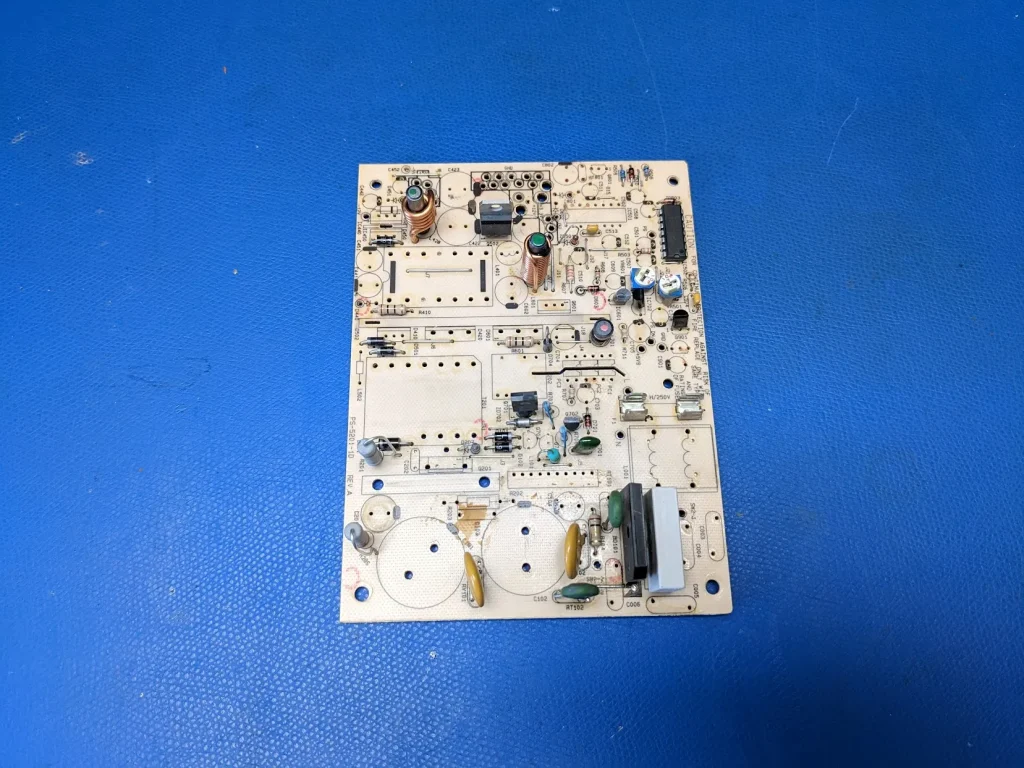
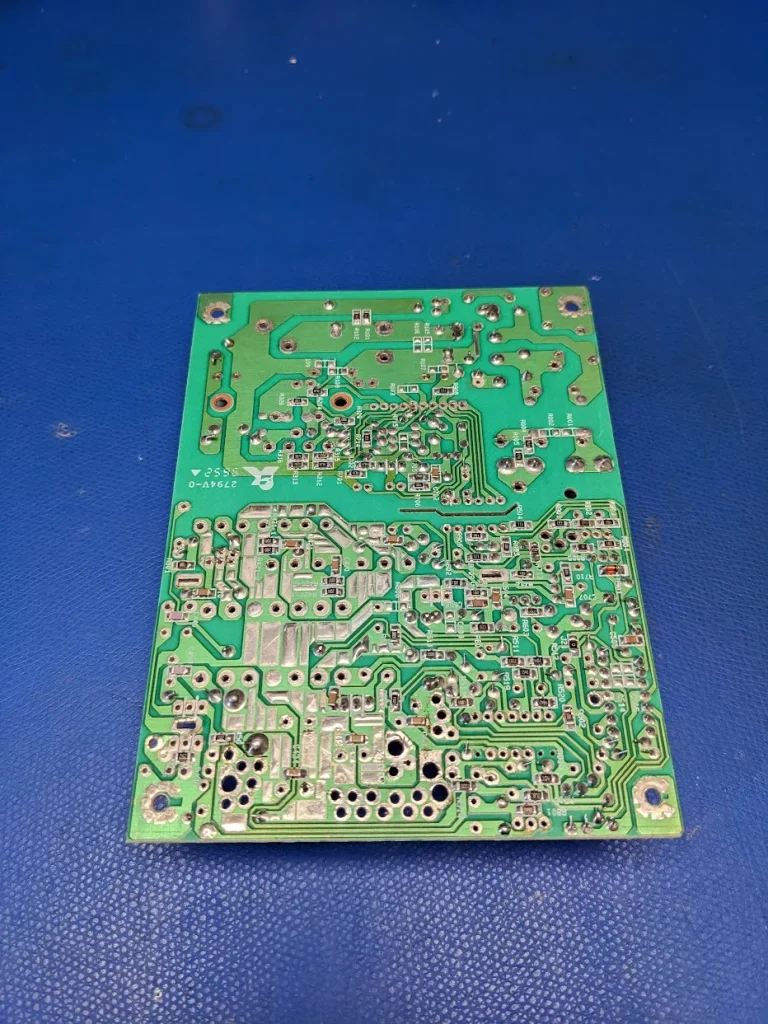
The before (top) and after (bottom) is just what we’ve come to expect from ultrasonic cleaning. It did an outstanding job of cleaning the board up and getting it ready for the new capacitors and existing components.
Putting it all together
Any components that had a build-up of glue present were replaced. This was to ensure trouble-free operation for the next three decades (at least!) and so we don’t get any nasty surprises down the road. We also replaced the cooling fan as an identical new-in-box model was still available.
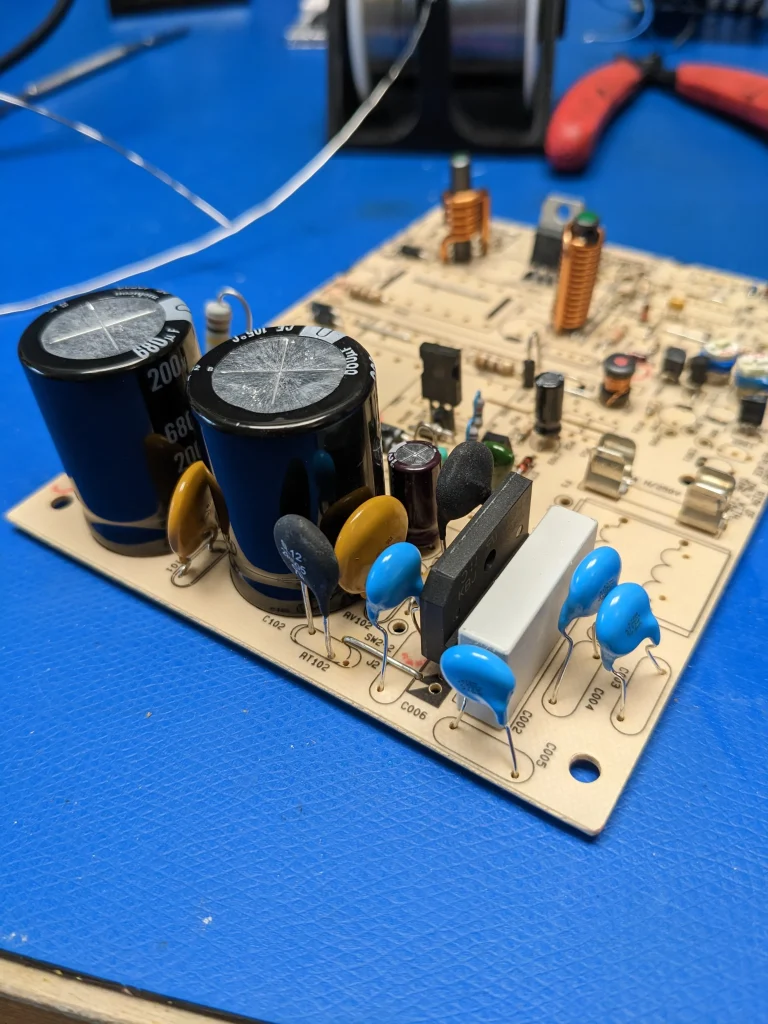
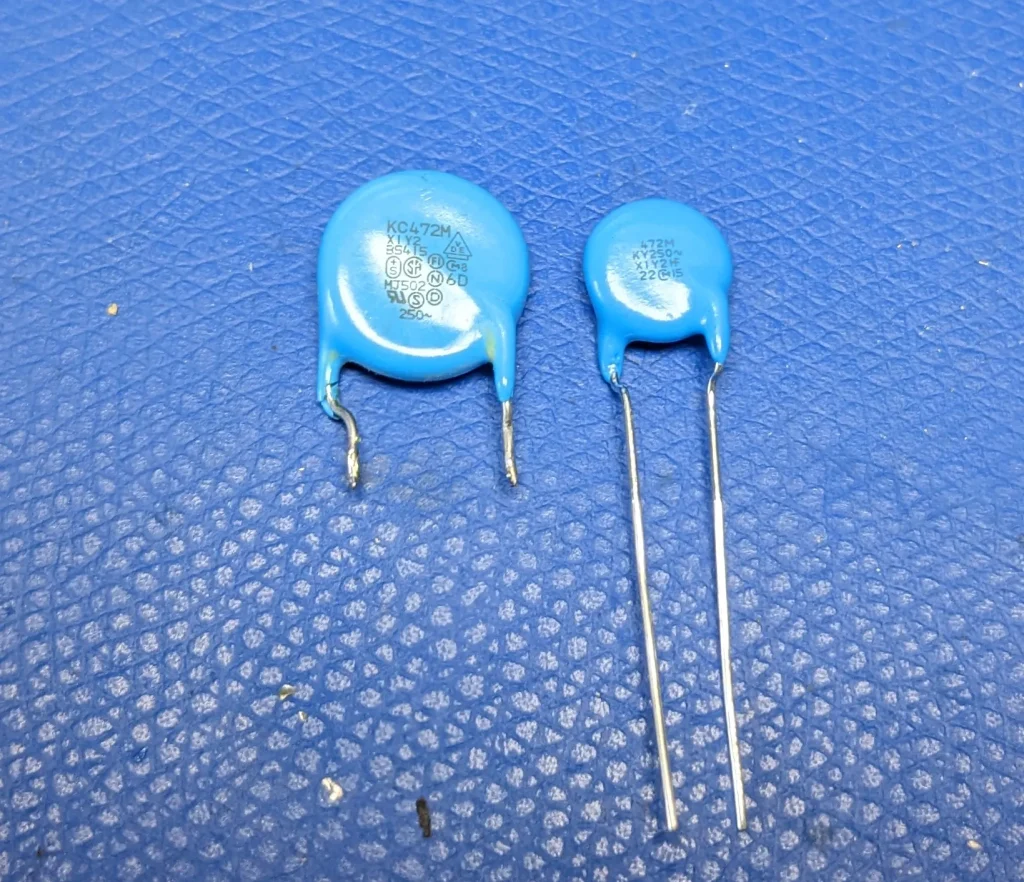
It is always interesting to see the march of advancement and miniaturization even in something as mundane and simple as a safety capacitor. These are essentially identical capacitors, but the one on the left is three decades older.
To install the new components, we used Kester 44 63/37 solder as usual. This is an easy-to-use leaded rosin flux solder that does not need to be cleaned after soldering.
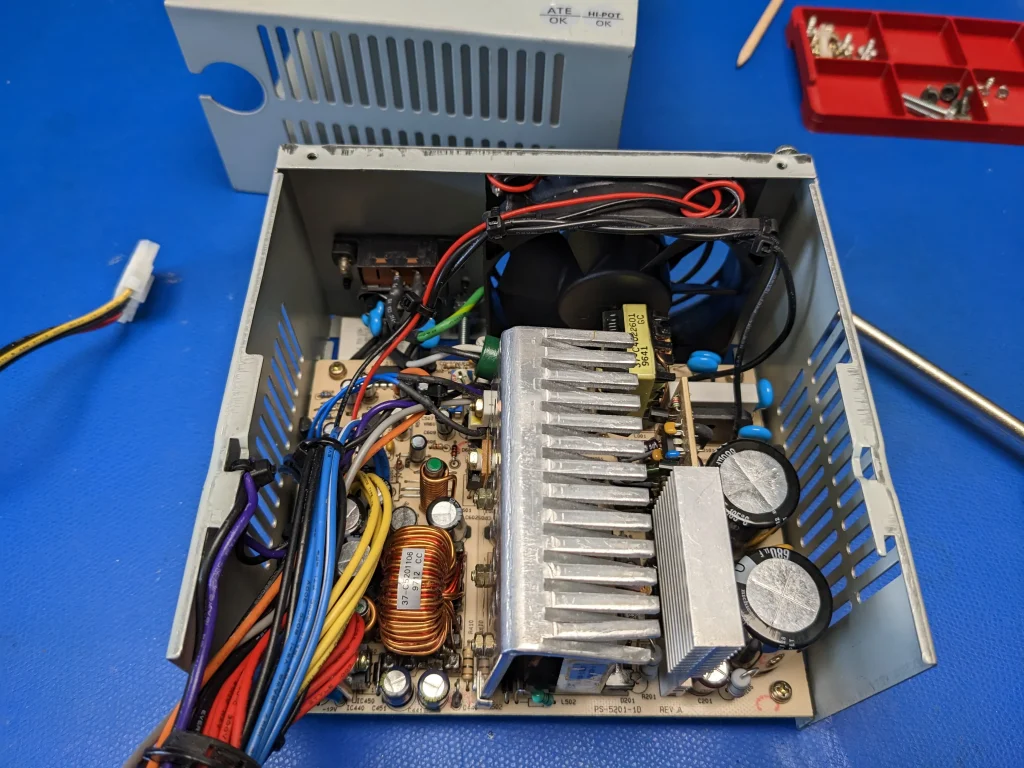
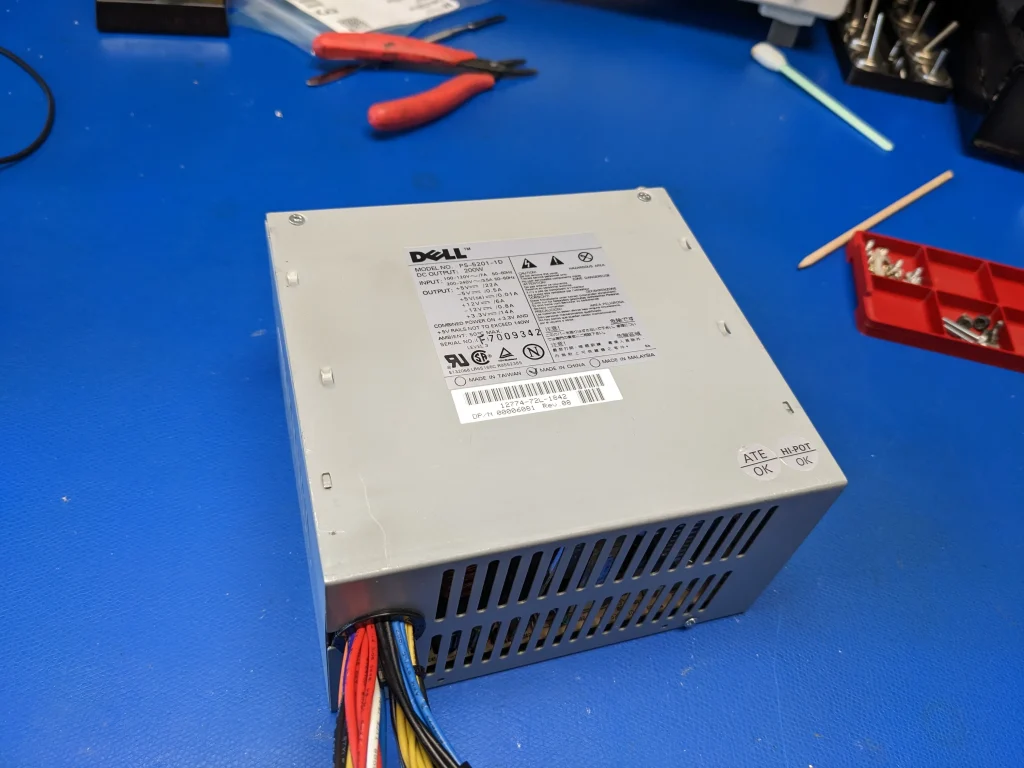
Everything went smoothly with the component installation. We routed the cabling as close to original as possible. We powered up the supply, checked voltages, and everything is solid! Always a relief when work of this scale is performed. With that done, the power supply is ready to go back into our Pro200n!